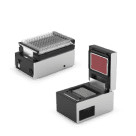
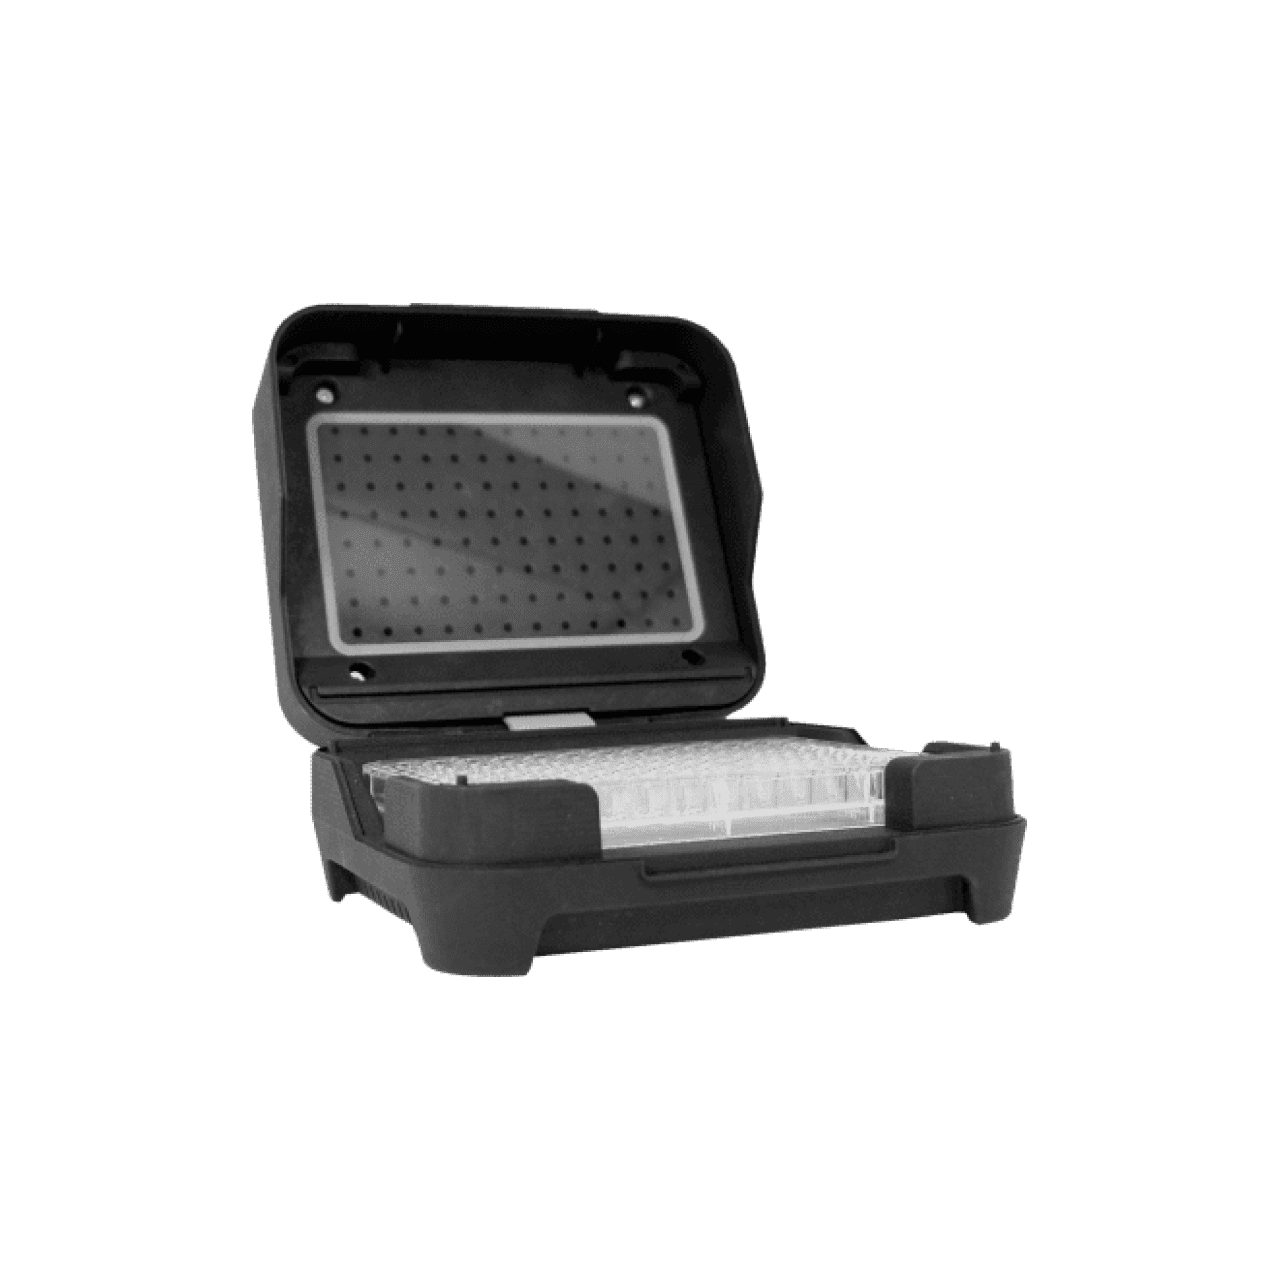
Magnetic Module
Note
The Magnetic Module is compatible with the OT-2 only. If you have a Flex, use the Magnetic Block.
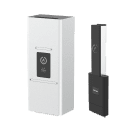
The Magnetic Module controls a set of permanent magnets which can move vertically to induce a magnetic field in the labware loaded on the module.
The Magnetic Module is represented by a MagneticModuleContext object, which has methods for engaging (raising) and disengaging (lowering) its magnets.
The examples in this section apply to an OT-2 with a Magnetic Module GEN2 loaded in slot 6:
def run(protocol: protocol_api.ProtocolContext):
    mag_mod = protocol.load_module(
      module_name="magnetic module gen2",
      location="6")
    plate = mag_mod.load_labware(
      name="nest_96_wellplate_100ul_pcr_full_skirt")
New in version 2.3.
Loading Labware
Like with all modules, use the Magnetic Module’s load_labware() method to specify what you will place on the module. The Magnetic Module supports 96-well PCR plates and deep well plates. For the best compatibility, use a labware definition that specifies how far the magnets should move when engaging with the labware. The following plates in the Opentrons Labware Library include this measurement:
Labware Name |
API Load Name |
|---|---|
Bio-Rad 96 Well Plate 200 µL PCR |
|
NEST 96 Well Plate 100 µL PCR Full Skirt |
|
NEST 96 Deep Well Plate 2mL |
|
Thermo Scientific Nunc 96 Well Plate 1300 µL |
|
Thermo Scientific Nunc 96 Well Plate 2000 µL |
|
USA Scientific 96 Deep Well Plate 2.4 mL |
|
To check whether a custom labware definition specifies this measurement, load the labware and query its magdeck_engage_height property. If has a numerical value, the labware is ready for use with the Magnetic Module.
Engaging and Disengaging
Raise and lower the module’s magnets with the engage() and disengage() functions, respectively.
If your loaded labware is fully compatible with the Magnetic Module, you can call engage() with no argument:
mag_mod.engage()New in version 2.0.
This will move the magnets upward to the default height for the labware, which should be close to the bottom of the labware’s wells. If your loaded labware doesn’t specify a default height, this will raise an ExceptionInProtocolError.
For certain applications, you may want to move the magnets to a different height. The recommended way is to use the height_from_base parameter, which represents the distance above the base of the labware (its lowest point, where it rests on the module). Setting height_from_base=0 should move the tops of the magnets level with the base of the labware. Alternatively, you can use the offset parameter, which represents the distance above or below the labware’s default position (close to the bottom of its wells). Like using engage() with no argument, this will raise an error if there is no default height for the loaded labware.
Note
There is up to 1 mm of manufacturing variance across Magnetic Module units, so observe the exact position and adjust as necessary before running your protocol.
Here are some examples of where the magnets will move when using the different parameters in combination with the loaded NEST PCR plate, which specifies a default height of 20 mm:
mag_mod.engage(height_from_base=13.5)  # 13.5 mm
mag_mod.engage(offset=-2)              # 15.5 mm
Note that offset takes into account the fact that the magnets’ home position is measured as −2.5 mm for GEN2 modules.
New in version 2.0.
Changed in version 2.2: Added the
height_from_baseparameter.
When you need to retract the magnets back to their home position, call disengage().
mag_mod.disengage() # -2.5 mm
New in version 2.0.
If at any point you need to check whether the magnets are engaged or not, use the status property. This will return either the string engaged or disengaged, not the exact height of the magnets.
Note
The OT-2 will not automatically deactivate the Magnetic Module at the end of a protocol. If you need to deactivate the module after a protocol is completed or canceled, use the Magnetic Module controls on the device detail page in the Opentrons App or run deactivate() in Jupyter notebook.
Changes with the GEN2 Magnetic Module
The GEN2 Magnetic Module uses smaller magnets than the GEN1 version. This change helps mitigate an issue with the magnets attracting beads from their retracted position, but it also takes longer for the GEN2 module to attract beads. The recommended attraction time is 5 minutes for liquid volumes up to 50 µL and 7 minutes for volumes greater than 50 µL. If your application needs additional magnetic strength to attract beads within these timeframes, use the available Adapter Magnets.

