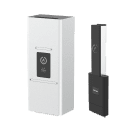
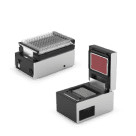
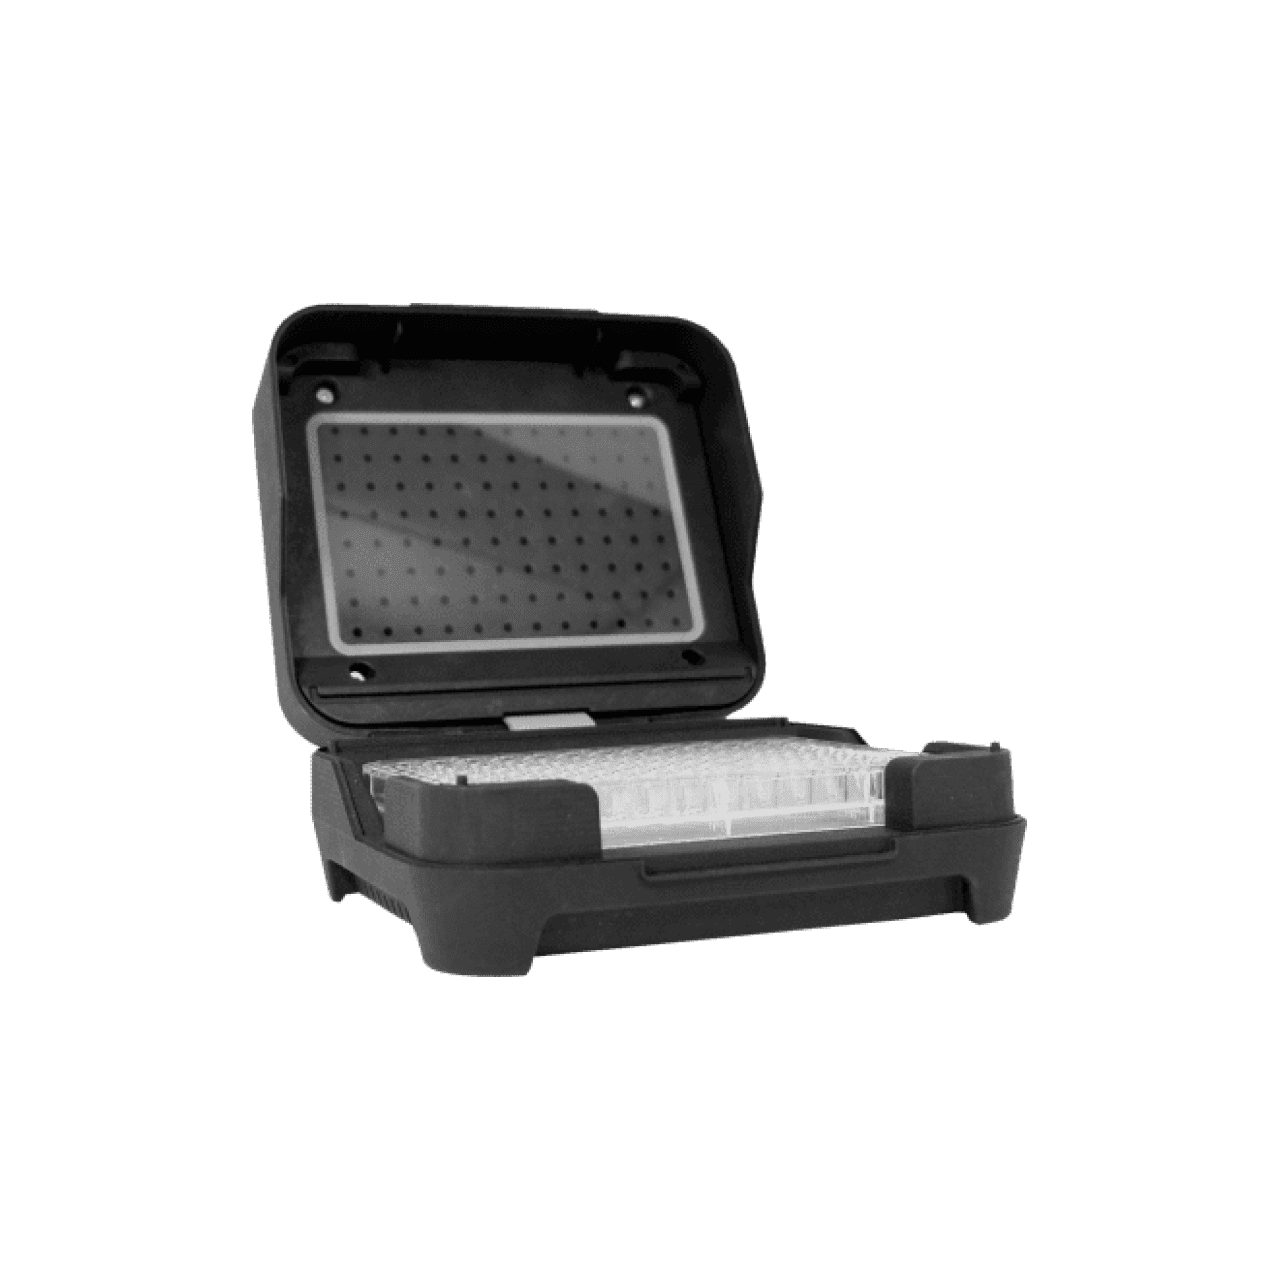
Absorbance Plate Reader Module
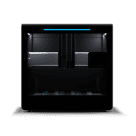
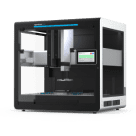
The Absorbance Plate Reader Module is an on-deck microplate spectrophotometer that works with the Flex robot only. The module uses light absorbance to determine sample concentrations in 96-well plates.
The Absorbance Plate Reader is represented in code by an AbsorbanceReaderContext object, which has methods for moving the module lid with the Flex Gripper, initializing the module to read at a single wavelength or multiple wavelengths, and reading a plate. With the Python Protocol API, you can process plate reader data immediately in your protocol or export it to a CSV for post-run use.
This page explains the actions necessary for using the Absorbance Plate Reader. These combine to form the typical reader workflow:
Close the lid with no plate inside
Initialize the reader
Open the lid
Move a plate onto the module
Close the lid
Read the plate
Loading and Deck Slots
The Absorbance Plate Reader can only be loaded in slots A3–D3. If you try to load it in any other slot, the API will raise an error. The module’s caddy is designed such that the detection unit is in deck column 3 and the special staging area for the lid/illumination unit is in deck column 4. You can’t load or move other labware on the Absorbance Plate Reader caddy in deck column 4, even while the lid is in the closed position (on top of the detection unit in deck column 3).
The examples in this section will use an Absorbance Plate Reader Module loaded as follows:
pr_mod = protocol.load_module(
    module_name="absorbanceReaderV1",
    location="D3"
)
New in version 2.21.
Lid Control
Flex uses the gripper to move the lid between its two positions.
open_lid()moves the lid to the righthand side of the caddy, in deck column 4.
close_lid()moves the lid onto the detection unit, in deck column 3.
If you call open_lid() or close_lid() and the lid is already in the corresponding position, the method will succeed immediately. You can also check the position of the lid with is_lid_on().
You need to call close_lid() before initializing the reader, even if the reader was in the closed position at the start of the protocol.
Warning
Do not move the lid manually, during or outside of a protocol. The API does not allow manual lid movement because there is a risk of damaging the module.
Initialization
Initializing the reader prepares it to read a plate later in your protocol. The AbsorbanceReaderContext.initialize() method accepts parameters for the number of readings you want to take, the wavelengths to read, and whether you want to compare the reading to a reference wavelength. In the default hardware configuration, the supported wavelengths are 450 nm (blue), 562 nm (green), 600 nm (orange), and 650 nm (red).
The module uses these parameters immediately to perform the physical initialization. Additionally, the API preserves these values and uses them when you read the plate later in your protocol.
Let’s take a look at examples of how to combine these parameters to prepare different types of readings. The simplest reading measures one wavelength, with no reference wavelength:
pr_mod.initialize(mode="single", wavelengths=[450])
New in version 2.21.
Now the reader is prepared to read at 450 nm. Note that the wavelengths parameter always takes a list of integer wavelengths, even when only reading a single wavelength.
This example can be extended by adding a reference wavelength:
pr_mod.initialize(
    mode="single", wavelengths=[450], reference_wavelength=562
)
When configured this way, the module will read twice. In the output data, the values read for reference_wavelength will be subtracted from the values read for the single member of wavelengths. This is useful for normalization, or to correct for background interference in wavelength measurements.
The reader can also be initialized to take multiple measurements. When mode="multi", the wavelengths list can have up to six elements. This example will initialize the reader to read at three wavelengths:
pr_mod.initialize(mode="multi", wavelengths=[450, 562, 600])
You can’t use a reference wavelength when performing multiple measurements.
Reading a Plate
Use AbsorbanceReaderContext.read() to have the module read the plate, using the parameters that you specified during initialization:
pr_data = pr_mod.read()
New in version 2.21.
The read() method returns the results in a dictionary, which the above example saves to the variable pr_data.
If you need to access this data after the conclusion of your protocol, add the export_filename parameter to instruct the API to output a CSV file, which is available in the Opentrons App by going to your Flex and viewing Recent Protocol Runs:
pr_data = pr_mod.read(export_filename="plate_data")
In the above example, the API both saves the data to a variable and outputs a CSV file. If you only need the data post-run, you can omit the variable assignment.
Using Plate Reader Data
There are two ways to use output data from the Absorbance Plate Reader:
Within your protocol as a nested dictionary object.
Outside of your protocol, as a tabular CSV file.
The two formats are structured differently, even though they contain the same measurement data.
Dictionary Data
The dictionary object returned by read() has two nested levels. The keys at the top level are the wavelengths you provided to initialize(). The keys at the second level are string names of each of the 96 wells, "A1" through "H12". The values at the second level are the measured values for each wells. These values are floating point numbers, representing the optical density (OD) of the samples in each well. OD ranges from 0.0 (low sample concentration) to 4.0 (high sample concentration).
The nested dictionary structure allows you to access results by index later in your protocol. This example initializes a multiple read and then accesses different portions of the results:
# initializing and reading
pr_mod.initialize(mode="multi", wavelengths=[450, 600])
pr_mod.open_lid()
protocol.move_labware(plate, pr_mod, use_gripper=True)
pr_mod.close_lid()
pr_data = pr_mod.read()

# accessing results
pr_data[450]["A1"]   # value for well A1 at 450 nm
pr_data[600]["H12"]  # value for well H12 at 600 nm
pr_data[450]         # dict of all wells at 450 nm
You can write additional code to transform this data in any way that you need. For example, you could use a list comprehension to create a list of only the 450 nm values for column 1, ordered by well from A1 to H1:
[pr_data[450][w.well_name] for w in plate.columns()[0]]
CSV data
The CSV exported when specifying export_filename consists of tabular data followed by additional information. Each measurement produces 9 rows in the CSV file, representing the layout of the well plate that has been read. These rows form a table with numeric labels in the first row and alphabetic labels in the first column, as you would see on physical labware. Each “cell” of the table contains the measured OD value for the well (0.0–4.0) in the corresponding position on the plate.
Additional information, starting with one blank labware grid, is output at the end of the file. The last few lines of the file list the sample wavelengths, serial number of the module, and timestamps for when measurement started and finished.
Each output file for your protocol is available in the Opentrons App by going to your Flex and viewing Recent Protocol Runs. After downloading the file from your Flex, you can read it with any software that reads CSV files, and you can write additional code to parse and act upon its contents.
You can also select the output CSV as the value of a CSV runtime parameter in a subsequent protocol. When you parse the CSV data, make sure to set detect_dialect=False, or the API will raise an error.

